At the Winter NAMM show in California, I got my custom impressions made and inabout 2 weeks I received my UEs. “WOW” – I shouted when I first opened the customized box these gorgeous monitors came in. They fit perfectly inside my ears. Sometimes I even forget I am wearing them because they are so comfortable. When it comes to sound quality, they are second to none in delivering clean and rich sound right onto your tympanic membrane.
How do they do it?
The process begins by getting tthe precise impression of your ear. As of right now there are two completely different ways (Digital and Analog) to obtain such an impression.
DIGITAL - 3D Scan
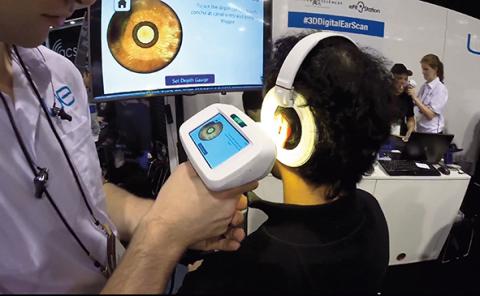
The process begins with the Digital Ear Scanner (resembling a UPC barcode scanner with a larger screen), which uses a laser and three super tiny cameras built into a 3.2mm probe. The scanner reads the reflections of the laser, creating a seamless 3D model of your ear canal. While “mapping” the inside of your ear, the scanner sends over 20 GB of high-resolution measurement data to the computer. Later on, all the data gets optimized and reduced to a smaller size file, which is then sent to Ultimate Ears’ Lab. (I was very fortunate and got my 3D scans taken at the 2015 NAMM show for my new Flat Response UE Monitors for my studio work.) The only downside is that unfortunately this method is not yet available at many locations. Let’s hope that changes soon. The other option to get your impressions is the “old school” method.
ANALOG ‐ Molded Impressions
This process begins by making an appointment with your local certified audiologist. Once you are in the doctor’s chair, it is pretty simple and doesn’t take too long. A small ball of cotton on a thread is carefully inserted in the ear to protect the eardrum. (It will also serve later on to help remove the cured impression.) A pliable, fast-setting silicone gel is squirted into the ear canal. When it cures (+/- 5 min) it is removed by gently pulling on the thread mentioned earlier. Then the physical impressions of both of your ear canals have to be sent to UE lab for further processing.
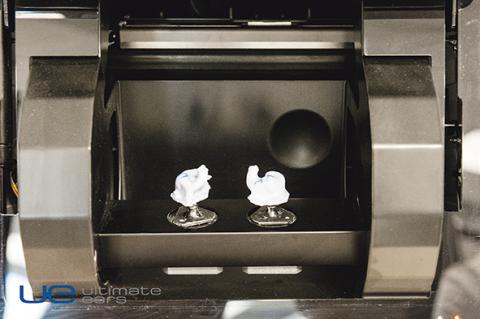
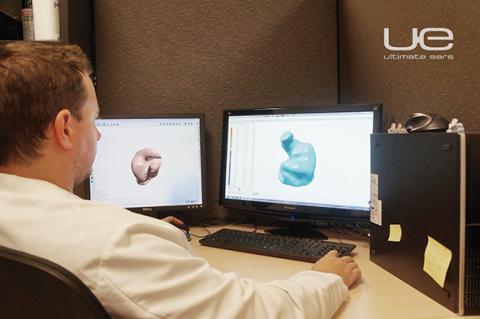
Your impressions are then scanned into the computer using a table‐top 3D scanner. Once both of the 3D images of your impressions are in the computer, every step of the process of making your custom monitors is the same regardless of how they obtained the digital version of your ears. At first each 3D image is closely inspected for imperfections, detailed and optimized for production. It is almost like virtual sculpting and sanding the 3D model for a better and more comfortable fit. Then, still in the digital world, it goes through all of these steps: Cutting the Faceplate; Smoothing out imperfections; Adding material to voids; Cutting the Canal; Cutting the socket...
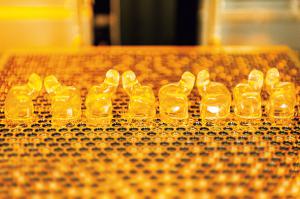
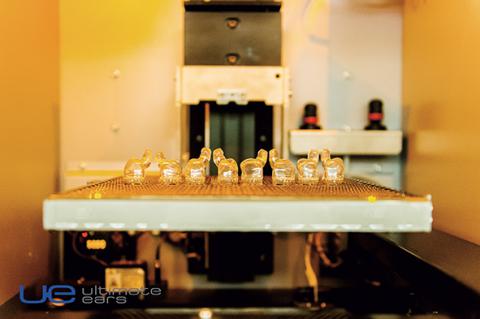
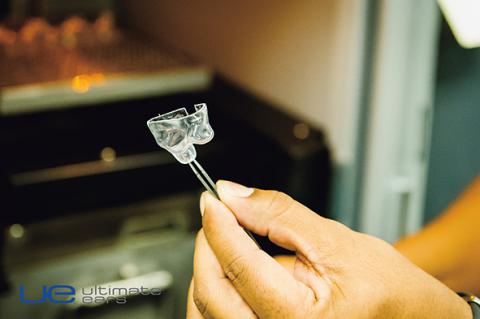
The next step is pretty much reversing the whole process and letting the digital image into the real world again via a 3D printer and cured liquid acrylic. A laser inside the printer builds up the shell a layer a few microns at a time. This whole process allows UE technicians to print more than one pair of monitors at the same time, and it only takes about 2 hours. They now have the chassis, so it’s time for the electronics inside the monitor.
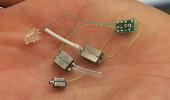
Each of the driver units is handsoldered to the crossover chip, connected to the tube that flows to your ear, and placed inside the chassis of the monitor. (Every 3D image holds many very important measurements including the depth of your tympanic membrane. This information is used to precisely calculate the length of the tubes for each driver to match the specifications.)
UE’s monitors are purposefully designed with hollow chassis as opposed to solid ones so they could be taken apart and fixed if ever needed. If the chassis were solid, this could not be done. Once the driver or drivers (depending on the model of your monitors) are placed inside and secured to the inside walls of the chassis it is time to test each monitor.
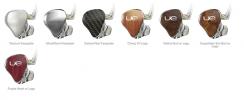
The UE lab uses pink noise and several other tests to check the proper frequency response of each driver. One of the most impressive tests they run is the one checking the low‐end frequency response. The entire monitor is pushed into foam to measure the conductive bone low‐frequency response. Once the driver adjustment and tube length fixes are made to get the desired frequency response to specifications, the monitor gets sealed up with the faceplate you picked out of the large selection. After the brand new pair of custom in‐ear UE monitors is closed up and sealed together with a UV‐light gun, the monitors get polished, buffed, and shined. Lastly. they are put in a custom box with a cleaning tool and detachable cable of desired length and sent off to meet their new home – your ears.
Once you do, the decision making is not over yet. Now you have to choose the model of UE that will fit your needs the best. “How do I try them so I know the difference?” Ultimate Ears literarily thought of everything. The experts at UE developed an app that simulates all different models of their monitor for you without having to actually swap out your in-ears. I have recently tried it myself and I could not believe how accurate it was. I picked the model I am used to and it was as if I brought my own pair of UE with me.
Get yours at www.pro.ultimateears.com


